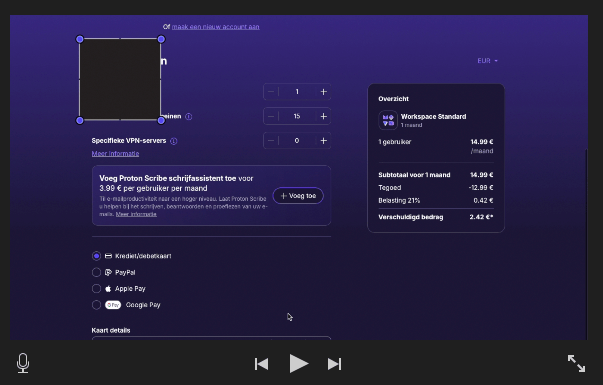
We’ve all been there. You’re recording a screen capture, a tutorial, or a presentation on your Mac, and suddenly, you type out a sensitive password for the whole world to see. You need to blur it out, but how?
If you’re dealing with sensitive data, do not use free web-based video editors like Canva or Kapwing. Uploading your raw footage to a third-party server is a massive security risk. Furthermore, while popular desktop apps like CapCut are great for TikToks, they are owned by ByteDance and are notoriously “cloud-hungry.” When handling passwords, you need a zero-trust, 100% offline solution.
Here are the three best ways to securely hide or blur a password on your Mac, using software that keeps your data safely on your local hard drive.
Method 1: iMovie (The Built-In Workaround)

Apple’s iMovie comes pre-installed on your Mac and operates entirely offline, making it highly secure. Surprisingly, it doesn’t have a native blur tool. However, you can easily use a “Picture-in-Picture” workaround to create a censor bar.
You can use save this image as an overlay as well:

- Open the built-in Preview app on your Mac, create a small, solid black square, and save it to your desktop as an image file. Or save/use the one above.
- Open iMovie and drag both your video and the black square image into your project.
- Place your video on the timeline. Then, drag the black square onto the timeline above your video, right where the password appears.
- Click the black square on the timeline. In the viewer panel (top right), click the Video Overlay Settings icon (two overlapping squares).
- Change the dropdown menu from “Cutaway” to Picture in Picture.
- Resize the black square and drag it directly over the password to censor it.
Method 2: Final Cut Pro (The Pro “Blur” Hack)
If you don’t want a black box and prefer a true, professional-looking pixelated or blurred box, Apple’s Final Cut Pro is the safest premium option. It is expensive, but there is a clever way to do this for free if it’s a one-off project.
- Go to Apple’s website and download the Free 90-Day Trial of Final Cut Pro (if still available like this).
- Import your video and drag it to your timeline.
- Open the Effects browser (the icon with two overlapping rectangles on the right).
- Search for the Censor effect and drag it directly onto your video clip.
- A circle will appear on your screen. You can change this to a rectangle, switch the style from pixelate to blur, and resize it perfectly over your password.
Method 3: Shotcut (The Privacy-First, Open-Source Option)
If you want a permanently free app with a real blur tool, but you want to avoid corporate tracking altogether, Shotcut is your best bet. It is an open-source video editor, meaning the code is public and there is no parent company harvesting your data.
- Download Shotcut for Mac from their official website.
- Import your video and drag it onto your timeline.
- Select your video and open the Filters tab.
- Click the “+” icon and add the Mask: Simple Shape filter. Position this box over your password.
- Click the “+” icon again and add the Blur filter.
- Click the “+” icon one last time and add the Mask: Apply filter. This tells Shotcut to only blur the area inside the box you drew!
The Bottom Line
When blurring passwords, banking info, or personal data, privacy should be your number one priority. Stick to iMovie for a quick censor bar, Final Cut Pro for a secure premium blur, or Shotcut for an open-source, privacy-respecting alternative. Stay safe out there!


 English
  Deutsch
  Nederlands
  Français
  Español
  Italiano
  Svenska